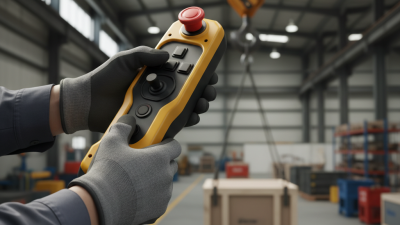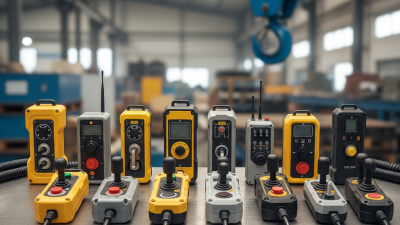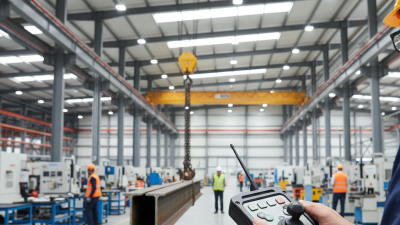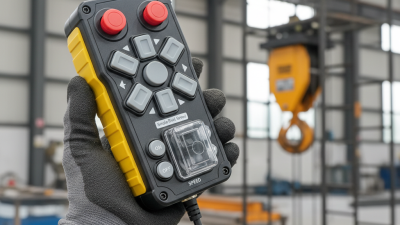
Choosing among the top Electric Hoist Remote controls for sale takes more than comparing prices or counting buttons. The right unit should match the hoist’s control system, operating environment, and lifting needs. A remote that feels comfortable in a showroom may be awkward beside a noisy workshop floor or beneath a low beam. Small details matter.
Quality expert Joseph M. Juran described quality as “fitness for use.” That principle offers a useful lens for comparing hoist controls, though Juran was not an electric-hoist specialist. Look closely at transmitter and receiver compatibility, control layout, operating range, battery access, and protection from dust or moisture. Check how the system responds when a button is released. Clear labeling and a secure grip can make routine movements easier to manage. Still, a long feature list does not guarantee a good fit.
Practical checks help. Confirm the control model against the hoist manufacturer’s specifications, and ask the seller what setup support is available. Consider where the operator will stand, what obstacles may block the signal, and whether gloves will be worn. A specification sheet cannot show every real-world inconvenience. That is worth remembering. This guide compares Electric Hoist Remote options through practical selection criteria, so buyers can identify suitable controls and ask better questions before ordering.
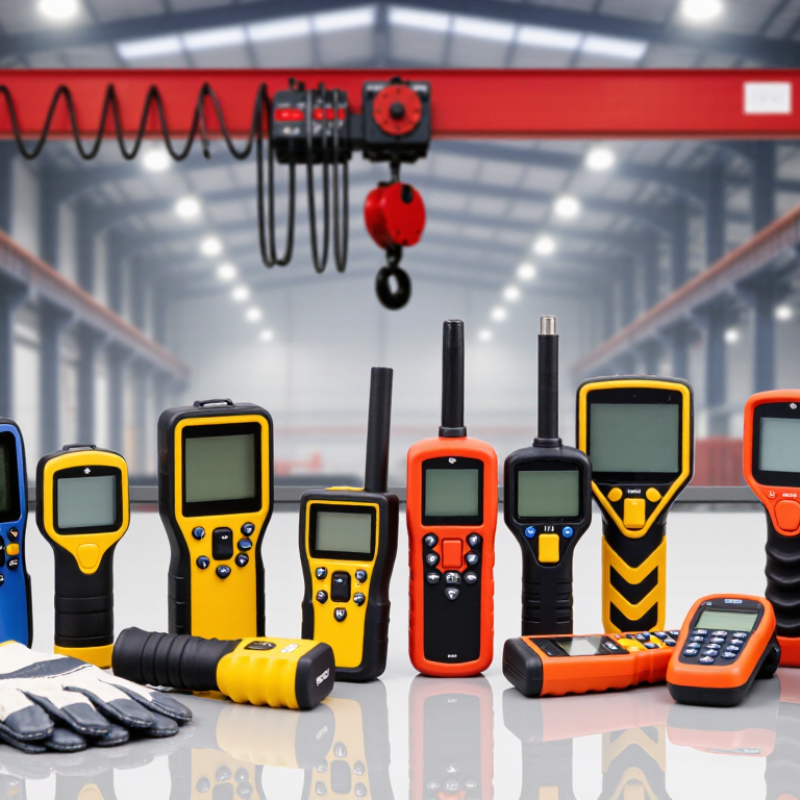
Electric hoist remote controls let an operator command lifting and lowering from a position with a clear view of the load. A typical handheld unit has marked buttons for up, down, and stop. Some systems use a cable; others send radio signals to a receiver mounted near the hoist. Small, but important.
When a button is pressed, the transmitter sends a command to the receiver. The receiver activates the relevant control circuit, which starts the motor in the selected direction. Releasing the button usually stops movement on many hold-to-run controls. The exact response depends on the hoist and control design, so check the equipment manual rather than guessing. A wireless signal can also be affected by a weak battery, damaged antenna, or nearby obstruction.
Before choosing a remote for sale, confirm that it matches the hoist’s voltage, control circuit, operating frequency, and rated functions. Look for clearly labeled buttons and a readily accessible stop control. Test the unit without a load, then follow the hoist maker’s operating instructions. Keep the transmitter dry and inspect its casing and buttons for damage. It is easy to assume that a replacement remote will pair automatically. That assumption can be wrong. A qualified technician should verify compatibility and setup when the wiring or receiver requirements are unclear.
A radio remote sends a command to the hoist’s receiver, which operates the corresponding control circuit. This simplified chart shows an interlocked, on/off arrangement: pressing Up or Down activates that direction’s output, while no command or an activated emergency stop leaves both outputs off. Actual systems vary; some hoists support variable-speed control.
Electric hoist controls generally fall into wired pendant, radio remote, and fixed control-station types. Each suits a different work area. A pendant hangs from the hoist or travels along its track, keeping the operator close to the load. Large, clearly marked buttons are easy to feel with work gloves. The cable can snag, though, and may limit movement.
Radio remotes let an operator stand farther away and choose a clearer view of the lift. They are useful when a load blocks the hoist or when the operator needs to guide it from the floor. Check the operating range, battery status, and emergency-stop function before use. Simple, but not foolproof. A dropped handset or poor signal can interrupt work, so operators need a safe response plan.
Fixed control stations are often fitted to larger equipment, such as bridge cranes, and may be used from a cab or designated platform. Some systems also use infrared controls, which depend on a clear line of sight and may not suit obstructed areas. The right choice depends on the hoist’s control compatibility, lifting routine, and site conditions. I would not judge a remote by its feature list alone; button spacing and visibility matter during real lifts, and are easy to overlook. Have a qualified technician confirm compatibility and installation details.
Compare control layout before comparing price. A clearly marked lift, lower, and stop button is easier to use with gloves and under poor lighting. Check whether the controls require continuous pressure, so releasing a button stops motion. Small details matter. An emergency stop should be easy to reach, and the receiver should enter a safe state if radio contact or power is lost. Confirm that the documentation identifies compatible hoist types and applicable safety standards, such as IEC 60204-32.
For wireless models, test signal reliability at the actual worksite. Steel beams, walls, and nearby equipment can affect reception, so a range figure alone may mislead. Check battery life, low-battery warnings, enclosure protection, and whether spare batteries are practical to replace. The U.S. Bureau of Labor Statistics counted 5,283 fatal work injuries in 2023; this figure covers all industries, not hoist incidents specifically. It does underline why control selection and operator training deserve careful attention. I would still verify stop behavior under realistic conditions, rather than trusting a quick showroom test. Compare the supplier’s test records, maintenance instructions, and support for inspection.
A suitable electric hoist remote should match the hoist’s control system, lifting capacity, and operating conditions. Check the manual or nameplate for approved control types, voltage, connector, and available functions. Compatibility matters most. A receiver that looks similar may still use different wiring or communication settings, so do not rely on appearance alone.
Choose controls around the actual job. For occasional lifts in a compact workshop, a lightweight pendant with distinct up and down buttons may be easiest. In a larger bay, consider wireless operation only when its rated range, signal behavior, and receiver installation suit the site. The emergency stop should be easy to identify and press without looking. Check for a belt clip, guarded buttons, or a low-battery warning; small details matter during repetitive work.
Before buying, confirm the remote is approved for your hoist and ask how pairing, maintenance, and battery replacement are handled. Have a qualified technician install or inspect the receiver, then test every command without a load according to the manual. Dust, gloves, and poor lighting can change how a control feels. A remote that seems convenient on a counter may be awkward overhead; that is easy to overlook.
When comparing electric hoist remote controls, treat compatibility as a safety requirement, not a convenience. Match the receiver to the hoist’s control voltage, wiring logic, operating frequency, and intended environment. Confirm that the stop function works with the complete system, not just the handset. A gloved operator should be able to identify buttons by touch and release a control without delay. Small checks matter. The U.S. Bureau of Labor Statistics reported 5,283 fatal work injuries across all industries in its 2023 Census of Fatal Occupational Injuries. That figure is not hoist-specific, but it underscores why equipment selection and training deserve attention.
Before purchase, check the hoist documentation and relevant guidance, such as ASME B30.16 for underhung hoists. Look for a clearly marked emergency stop, durable housing, secure battery contacts, and a receiver suited to dust, moisture, and temperature conditions at the worksite. A specification sheet can still leave gaps; verify connector details and control behavior with a qualified technician. During routine checks, inspect the casing, buttons, antenna, and battery compartment for cracks, sticking, corrosion, or looseness. Test the stop function before operation, following the hoist maker’s procedure. Remove power before servicing the receiver or wiring. Keep a written record of inspections and battery changes. It sounds fussy. A missed, sticking button can turn a simple lift into a serious hazard.
| Control Type | Typical Controls | Best Suited For | Compatibility Checks | Safety Considerations | Routine Maintenance |
|---|---|---|---|---|---|
| Wired pendant | Push buttons for hoist up/down; may include trolley travel and an emergency stop. | Fixed workstations and applications where a direct cable connection is preferred. | Confirm control voltage, contact arrangement, connector or wiring scheme, and required number of motions. Check cable length and strain relief. | Keep the cable clear of the load, moving machinery, and walkways. Verify that the stop function operates as intended. | Inspect the cable jacket, pendant enclosure, buttons, and strain relief for wear, cracks, or loose connections. |
| Wireless handheld transmitter | Portable push-button controls; some systems provide a dedicated emergency-stop button and status indicators. | Operators who need to move around the work area while maintaining a line of sight to the load. | Match the receiver to the transmitter system and verify supply voltage, output contacts, operating frequency, and supported hoist motions. | Use only within the specified operating conditions. Keep the load visible, secure the transmitter against accidental activation, and test the stop function before work. | Check buttons, housing, battery condition, antenna, and receiver connections. Replace batteries with the specified type and inspect for moisture or impact damage. |
| Wireless dual-speed control | Two-stage buttons provide slow and fast commands where supported by the hoist control system. | Tasks that benefit from slower positioning as well as normal travel speed. | Confirm that the hoist has compatible dual-speed motors or control inputs. Verify that transmitter stages map correctly to the receiver outputs. | Operators should understand the speed stages and avoid relying on slow speed as a substitute for safe load handling or adequate clearance. | Test both speed commands and the stop function. Check button return action, battery state, and receiver output operation. |
| Wireless multi-motion control | Separate commands for hoisting and trolley or bridge travel; available layouts vary by system. | Hoists installed on a trolley or overhead crane where several motions are controlled from one transmitter. | Confirm the number and direction of supported motions, interlocks, contact outputs, receiver power requirements, and integration with existing controls. | Clearly identify each motion. Test directions at a safe height and low-risk position before normal operation; prevent unintended simultaneous commands where required. | Inspect labels, buttons, housing, receiver wiring, and mounting. Periodically verify that each command activates only the intended motion. |
| Dual-station wired control | Two wired control stations connected to a compatible control circuit; station priority or interlocking depends on the design. | Installations where operators need control access from more than one fixed position. | Check the control schematic, station-selection logic, wiring method, voltage, and whether simultaneous commands are prevented by the system. | Ensure operators know which station is active. Confirm that emergency-stop circuits and interlocks function correctly at each station. | Inspect both stations, cable routes, enclosures, and connections. Test station selection, motion controls, and emergency stops according to the maintenance schedule. |
| Enclosed industrial transmitter | Handheld or belt-worn wireless controls with a more protected enclosure; exact protection level varies by model. | Work areas where the control may be exposed to dust, splashes, or frequent handling, subject to its rated environment. | Verify the enclosure rating, temperature range, radio system, receiver outputs, and compatibility with the hoist controller. An enclosure rating does not confirm electrical compatibility. | Use only within the stated environmental limits. Do not assume an enclosure is suitable for immersion, hazardous locations, or every outdoor condition. | Clean with methods allowed by the manufacturer. Inspect seals, covers, buttons, battery compartment, and connectors for damage or contamination. |
Selection note: Control features, operating range, enclosure rating, and wiring vary by model. Confirm compatibility with the hoist and control panel documentation, and follow the equipment manufacturer’s inspection and operating instructions.